Have you got a new email or lost one? If you have any of them and you need to change your Apple ID email address to protect your data, then you are on the right page.
How Can I Change My Apple ID Email Address Using the Web Browser?
You can change your Apple ID Email address using a web browser, by following these steps:
- First, you have to start the web browser on your desktop or laptop and visit appleid.apple.com to access the Apple ID account page.
- Then tap the Manage your Apple ID option and log in using the email address and password you currently use for your Apple ID.
- The Account Settings page will appear when you will signed in. Find the Apple ID and Primary Email Address area, then click the Edit button next to it.
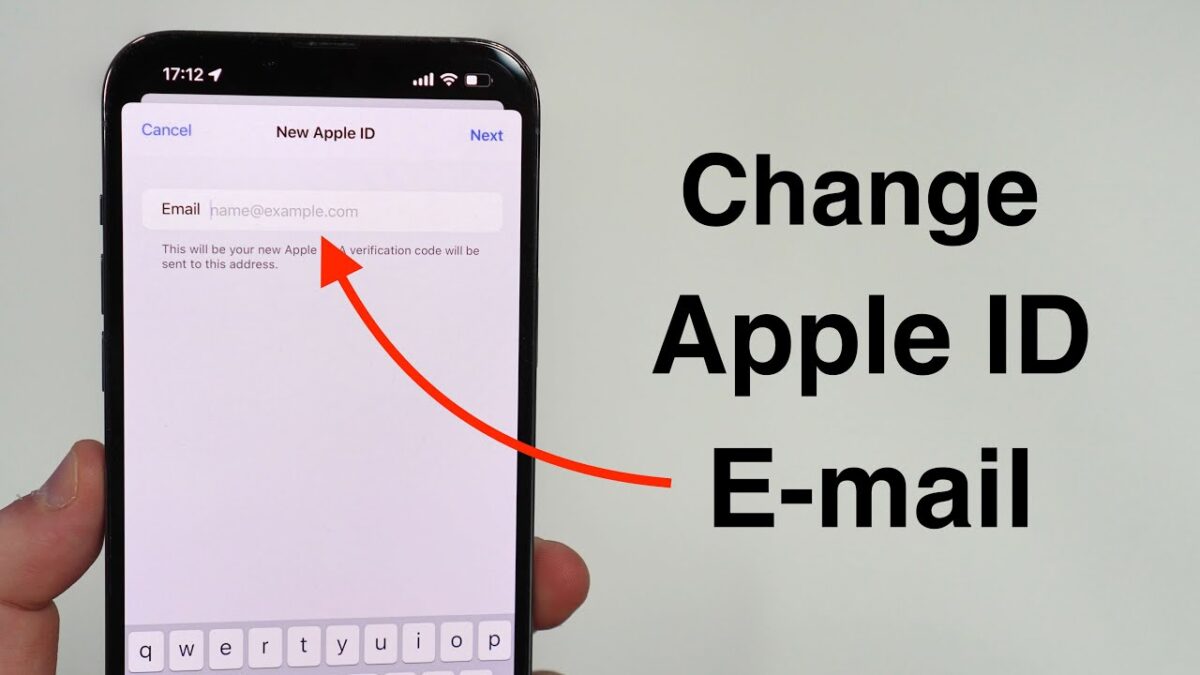
- After that, a prompt will appear where you have to type in your new email address and then have to press the Continue button.
- Apple will email the new email address you provided with a verification code. You have to check your inbox for an email from Apple with the subject
- Verify your Apple ID email address from noreply@apple.com.
When you will open the email and find the verification code, you can note it down somewhere. - Then return to the web browser where you used to change your email address and input the verification code where it will ask for it.
To begin, you have to select the Verify option. - You’ll get a confirmation message stating that your email address has been updated once your verification will complete.
- From now onwards, you can check in to Apple services and devices using your new email address as your Apple ID.
How Do I Change My Apple ID Email If It Already Exists?
- First, you have to start the web browser on your desktop or laptop and visit appleid.apple.com to access the Apple ID account page.
- Then tap the Manage your Apple ID option and log in using the email address and password you currently use for your Apple ID.
- The Account Settings page will appear when you will signed in. Find the Apple ID and Primary Email Address area, then click the Edit button next to it.
- After that, a prompt will appear where you have to type in your new email address and then have to press the Continue button.
- Apple will email the new email address you provided with a verification code. You have to check your inbox for an email from Apple with the subject Verify your Apple ID email address from noreply@apple.com.
- When you will open the email and find the verification code, you can note it down somewhere.
- Then you have to return to the web browser where you used to change your email address and input the verification code where it will ask for it.
To begin, you have to select the Verify option.
You have two choices only if the email address is already linked to another Apple ID:
- First, you can change the email address from the other Apple ID which is linked to it and add it to the one you now have if you are the owner of that Apple ID.
- Secondly, You must have to select a different email address and go through the verification process once more if you don’t own the other Apple ID.
- You will get a confirmation message confirming that your email address has been updated if the verification is successful and you have created a unique email address.
How Can You Change Your Apple ID Email Using a Third-Party Email?
- You can use the steps given below to switch your Apple ID e-mail with Third-Party Email
- Firstly, you have to open a browser and visit appleid.apple.com to access the Apple ID account page.
- Then have to enter your existing email address and password to log in.
- Now you can select Account or Apple ID from the list of options.
- In the Account section, click Change.
- After entering a new email address, you have to select Continue.
- Then your mailbox will receive a verification code. You have to enter the code on the page for your Apple ID account.
- Apple verifies the new email address and will notify you that your Apple ID has been changed.
- Then you can sign out of all Apple devices and services using your Apple ID. Re-sign in using your new email address and password to make sure that changes are applied to all your services and devices.
How can you Change your Apple ID Email Address (Notification Email)?
You can change your Apple ID email address for notifications of Email by following these steps:
- You have to open the Settings app on your Apple device.
- Then have to tap on your name or Apple ID banner from the top.
- Then tap on the option of Name, Phone Numbers, Email.
- In the CONTACTABLE AT section, you have to tap on your current Apple ID email address.
- After that tap on Add Email or Phone Number.
- Then you can enter the new email address for notifications and tap Next.
- Apple will send a verification code to your new email address which you have provided.
- You have to receive the code from your email and enter it on the verification screen.
- Apple will verify the new email address and will send a confirmation message that your ID for notifications has been changed.
How to Change Apple ID Email on iPhone?
You can change your Apple ID Email or iPhone just by following these steps:
- Firstly, you need to open the Settings of your iPhone.
- There will be your name on the top of the page, you have to click it.
- Then you will see Name, Phone number, and Email option, click on it.
- Then you have to fill in your Apple ID and password and press OK.
- On the right side of Reachable At, there will be a blue edit button click on it.
- Now you have to click the red minus sign which will be next to your Apple ID.
- Tap the Delete button from the right of the email.
- A notification will appear requesting that you have selected a different Apple ID. You have to select Continue.
- Then you have to enter the passcode of your iPhone.
- Then you have to enter your new Apple ID.
- From the top right corner of the screen, you have to select Next.
- Type in the verification code, which you will receive.
How Do You Change Your Apple ID Email on iOS 16?
- Very obvious Firstly, you need to open the Settings of your iPhone.
- There will be your name on the top of the page, you have to click it.
- Then you have to Scroll the screen until you see the sign-out option and click the sign-out and it will ask for your passcode, you have to fill it out.
- Before signing out you must have to keep the backup ).
- Then to log in with another Apple ID you have to click on the blank username there at the top.
- Here you have to type the email that you have. The device will inform you that you are signing in back into iCloud.
- It will take a few seconds and you will see your new account. After that, you can take your backup too.