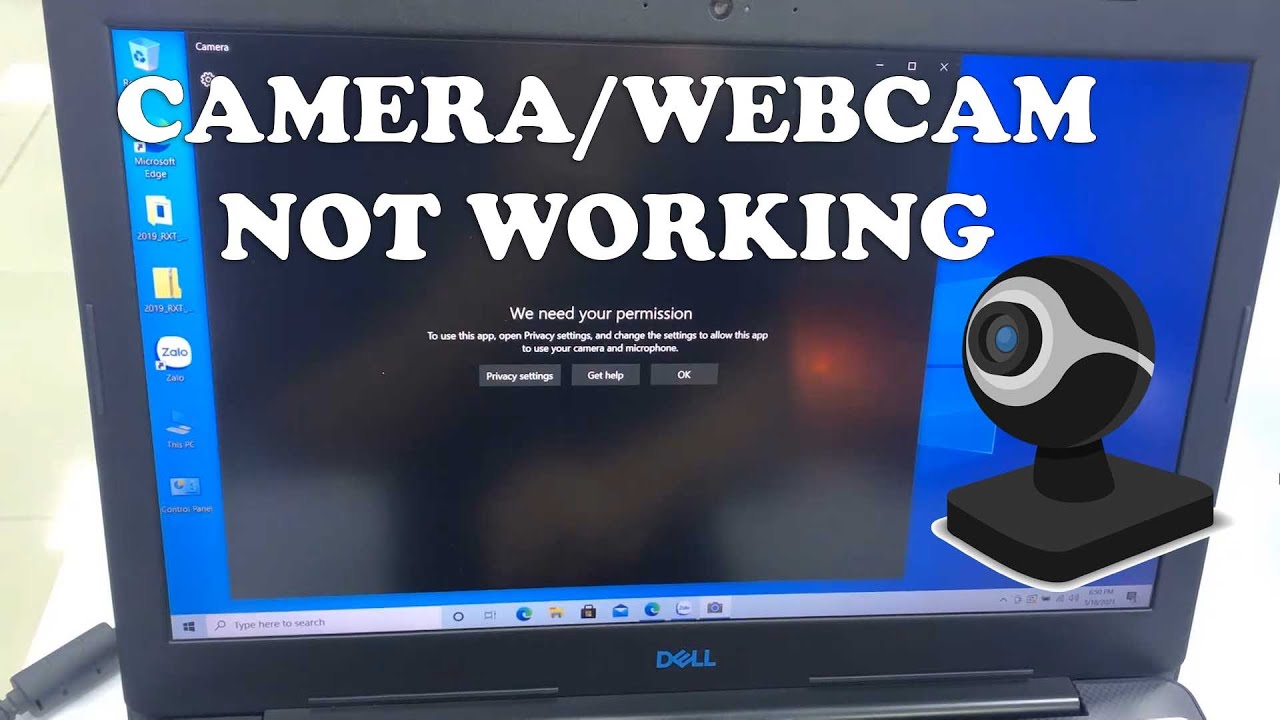
Here are the steps to resolve the working of camera in dell laptop:
a) Ensure that the camera of dell laptop must not be in BIOS state.
b) You can check for any hang issue by shutting down or restarting the laptop
c) You can move to System Configuration of the laptop using (+) button
d) Highlight the Miscellaneous Devices section
If error persists, then proceed with the further steps as below:
1. Verify Privacy Settings of the camera
a) Start by clicking the window key and then proceed with selection of q key
b) Search for Privacy Settings in the search box
c) Make sure the Click or touch change setting is enabled in the laptop and also check for the access allowance of the camera
d) Select the app from the store to access the camera
e) Now, close the window settings and check for the error
f) If the same error persists, then proceed with the next steps
2. Reset the camera applications.
a) Start by clicking the window key and then proceed with selection of q key
b) Search for camera in the search box
c) Right click on camera to open the app settings
d) Select restart to confirm the restarting of the camera application
e) Close the window to complete the process
f) If the same error persists then proceed with the next step
3. Run the video playback troubleshooter
a) Start by clicking the window key and then proceed with selection of q key
b) Search for Troubleshooter in the search box
c) Select troubleshoot to find the other problem and fix the problem using the click option on video playback system
d) Run the troubleshooter
e) If the error persists , proceed with the next steps
4. Resume the webcam drivers
a) Start by clicking the window key and then proceed with selection of q key
b) Search for the Device Manager in the search box
c) Then, Select Device Manager
d) Integrate the camera or web imaging devices by clicking the + button
e) Right click the web camera option to uninstall the application
f) Restart the laptop and check for the existence of error
g) If error persists, proceed with the next step
5. Move the dell laptop hardware diagnostics on internal webcam
a) Visit the homepage of official website of the Dell Product
b) Select any of the three options mentioned below to get the details of the product on your support page
c) Select your laptop from the available options displayed on the screen
d) Enter the details of the Service Tag or Dell EMC product and proceed with searching your laptop from the appeared list
e) Select Browse all products
f) Click on the DIAGNOSTICS tab.
g) Enable the check box next to the video capture option shown on the screen
h) Click on run test. The test runs and displays the results
Troubleshooting is the process of detecting errors or defects in software or computer systems and fixing them. Reproducing computer software that has developed flaws is unresponsive or behaves strangely.
You can follow a step among the following seven steps
1. Collect the information.
2. Describe the problem.
3. Discover the most probable cause.
4. Develop a plan of action and test the solution.
5. Implement the solution of problem.
6. Examine the results.
7. Process the Document.
Error code – 36 links to actions in the finder, such as copying, moving, or deleting files. Some of the “file name” data cannot be read or written due to which finder cannot complete the operation. It happens when you try to copy files from one place to another, like your memory card to your Hard drive.
a) Visit to the applications section and select utilities
b) Select the terminal applications to launch
c) Type or paste dot in the terminal.
d) Drag and drop the file in terminal section using the space button
e) Press the return key on the completion of full load process